SimpliSafe’s entry sensors are the workhorses of any DIY home security setup, small, wireless devices that alert you the moment a door or window opens. They’re a core component of the SimpliSafe system, designed to install without wiring, drilling into studs, or calling an electrician. Whether you’re upgrading from an older alarm system or starting from scratch, understanding how these sensors work, where to place them, and how to troubleshoot common hiccups will help you get the most protection for your investment. This guide walks through everything from the tech inside the sensor to real-world installation tips that’ll save you time and headaches.
Table of Contents
ToggleKey Takeaways
- SimpliSafe entry sensors are magnetic contact switches that use 433 MHz RF wireless communication to send instant alerts when doors or windows open, with no Wi-Fi dependency or wiring required.
- The SimpliSafe entry sensor boasts a 3–5 year battery life using a standard CR-2032 coin cell, up to 400 feet line-of-sight range, and peel-and-stick installation that takes under 10 minutes per sensor.
- Proper installation requires clean, dry mounting surfaces and careful alignment within 3/4 inch of the magnet; adhesive reaches full strength after 24 hours, so avoid slamming doors during the cure period.
- Prioritize ground-floor doors, basement windows, master bedrooms, and garage entry points; position sensors away from metal weather stripping and heat sources to maintain reliability.
- SimpliSafe entry sensors outperform competitors like Wyze and Ring by offering superior battery longevity, better range, and interference-resistant RF technology at a competitive $14.99 per-sensor price point.
- Common issues like offline sensors, false alarms, and failed triggers can be resolved through simple troubleshooting: checking alignment, replacing batteries, clearing signal blockers, and repositioning the base station.
What Is the SimpliSafe Entry Sensor and How Does It Work?
The SimpliSafe entry sensor is a two-piece magnetic contact switch. One piece mounts on the door or window frame, the other on the moving part (the door or sash). When the two halves are close, within about 3/4 inch, they complete a magnetic circuit. Break that circuit by opening the door or window, and the sensor sends a wireless signal to the SimpliSafe base station, which triggers an alarm or alert depending on your armed status.
The system uses 433 MHz RF wireless communication, which is separate from your home Wi-Fi. That means no network congestion or router outages will take your sensors offline. The base station relays alerts to SimpliSafe’s monitoring center (if you subscribe) or sends push notifications to your phone via the SimpliSafe app.
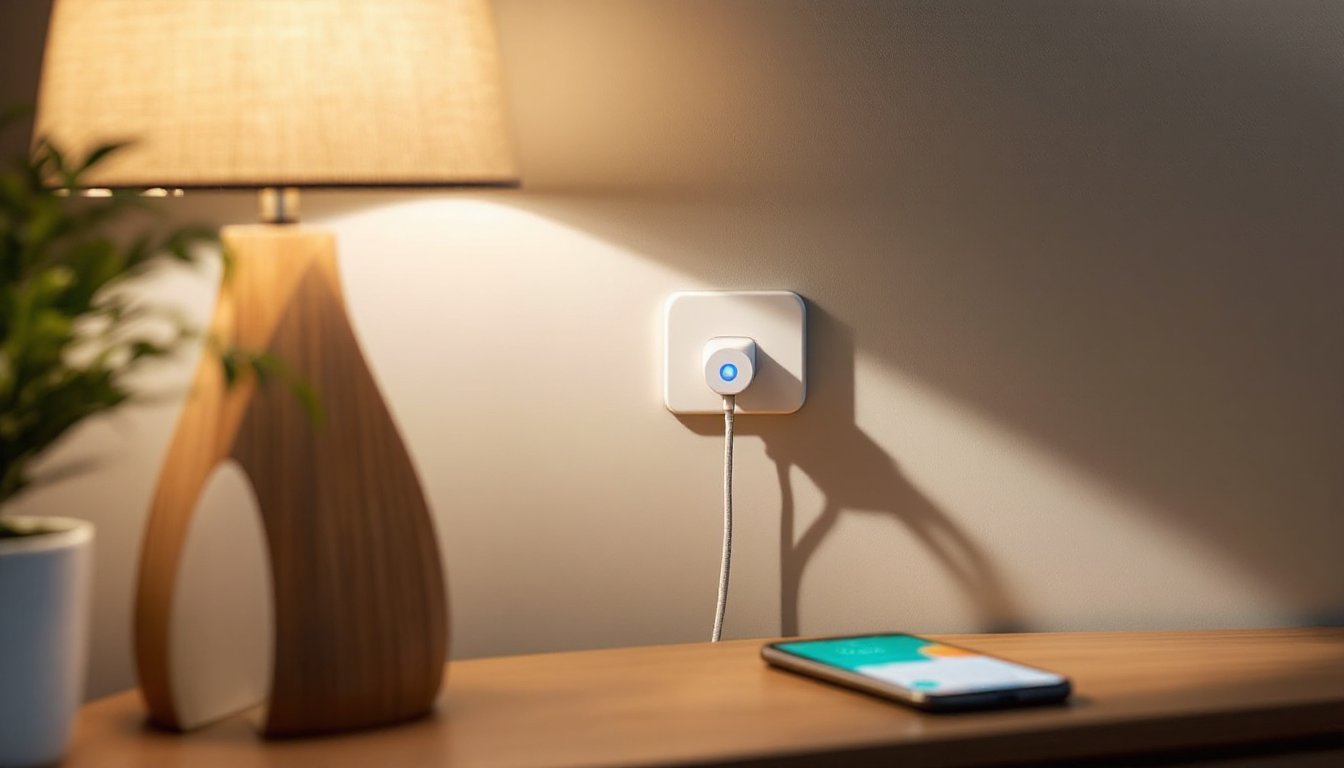
Each sensor is powered by a CR-2032 lithium coin cell battery, the same type found in key fobs and watches. Battery life typically runs three to five years under normal use, and the base station will alert you when a sensor’s battery dips below 10%. No wiring, no transformers, just peel-and-stick installation that most homeowners can finish in under 10 minutes per sensor.
Key Features and Specifications
Understanding the sensor’s specs helps you plan your coverage and know its limits. Here’s what you’re working with:
- Dimensions: The main sensor body is approximately 2.5″ × 1″ × 0.5″: the magnet piece is roughly 1.5″ × 0.5″ × 0.5″.
- Range: Up to 400 feet line-of-sight to the base station. Real-world range is typically 100–200 feet indoors, depending on wall materials and interference.
- Wireless frequency: 433 MHz RF (not Wi-Fi dependent).
- Battery type: CR-2032 lithium coin cell, user-replaceable.
- Battery life: 3–5 years under typical use (opening/closing a few times per day).
- Mounting: Pre-applied 3M VHB adhesive on the back: screws included for wood or metal frames if you prefer mechanical fastening.
- Operating temperature: 32°F to 120°F. Not rated for outdoor use or unheated spaces in cold climates.
- Compatibility: Works exclusively with SimpliSafe Gen 3 systems (2018 and later). Not backward-compatible with original SimpliSafe hardware.
The sensor has a single LED indicator that blinks when the cover is opened or the battery is low. There’s no audible beep or chime at the sensor itself, all notifications route through the base station or app.
One practical limitation: the sensor detects open/closed status only. It won’t tell you how long a door has been open or whether it’s partially ajar unless the gap exceeds that 3/4-inch magnetic range. For high-traffic doors, consider pairing entry sensors with a SimpliSafe motion detector to catch lingering open doors.
Installing Your SimpliSafe Entry Sensor: Step-by-Step DIY Guide
Installation is straightforward, but following the right sequence prevents false alarms and adhesive failures. Here’s how to do it right.
Tools and Materials
- SimpliSafe entry sensor (main unit and magnet)
- Rubbing alcohol or isopropyl alcohol wipes
- Clean lint-free cloth
- Pencil (optional, for marking)
- Small Phillips screwdriver (only if using screws instead of adhesive)
Installation Steps
-
Clean the mounting surfaces thoroughly. Use rubbing alcohol to remove dust, oils, and old paint residue from both the frame and the door/window. The 3M VHB adhesive bonds best to clean, dry surfaces. Let the alcohol evaporate completely, about 60 seconds.
-
Test-fit the sensor before peeling any backing. Hold the main sensor body on the door frame (the stationary part) and the magnet on the door or window itself. The two pieces should align with no more than 3/4 inch gap when the door is closed. Mark lightly with a pencil if you want a reference.
-
Peel the adhesive backing and press firmly. Start with the main sensor on the frame. Press it in place for 30 seconds with firm, even pressure. The adhesive reaches full strength after 24 hours, so avoid slamming the door during the cure period.
-
Mount the magnet on the moving part. Align it opposite the main sensor, keeping the alignment arrow on the sensor pointing toward the magnet. Press for 30 seconds.
-
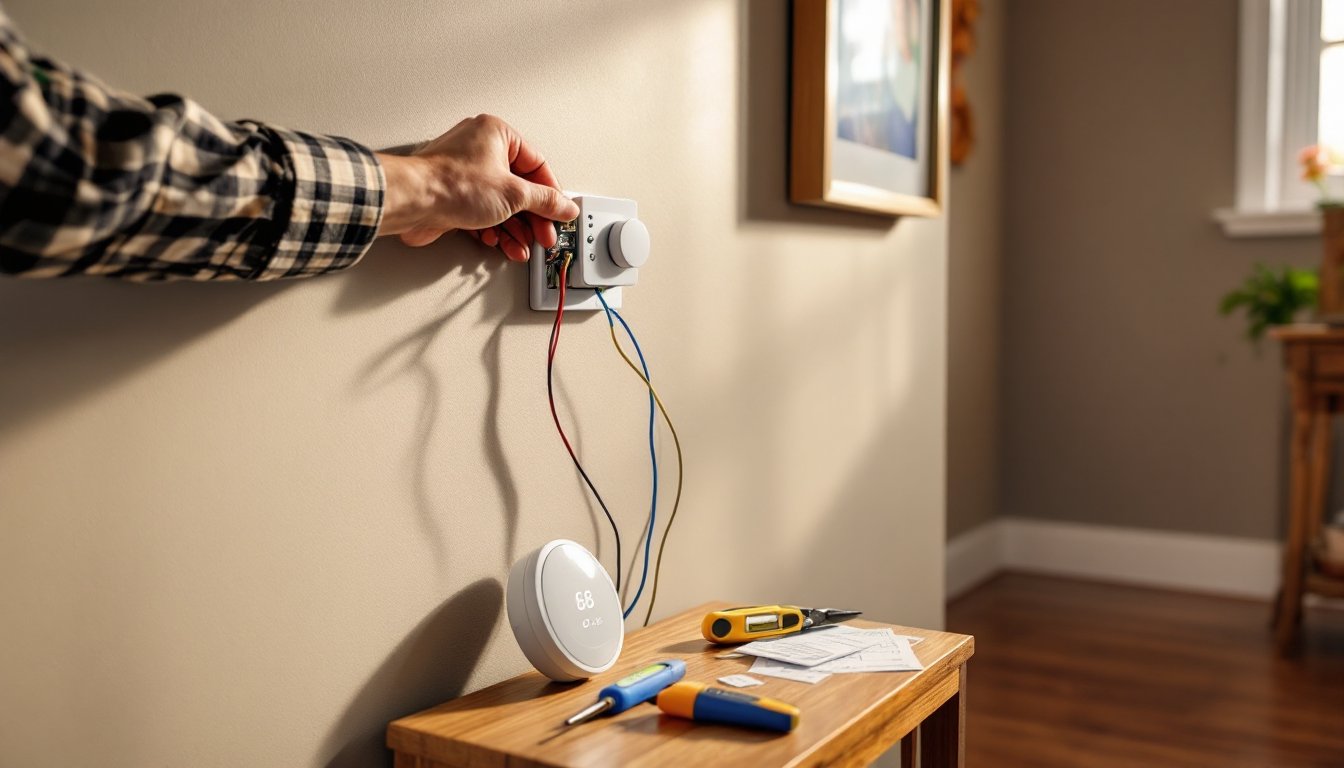
Pair the sensor with your base station. Open the SimpliSafe app, go to “My System,” tap “Add Device,” and follow the prompts. Open and close the door a few times to confirm the base station registers each event. You should hear a chime or see a notification in the app.
-
Optional: Use screws for high-traffic or heavy doors. If you’re mounting on a steel door frame or a door that gets slammed frequently, peel off the adhesive backing and use the included screws instead. Pre-drill pilot holes with a 1/16-inch bit to avoid splitting wood trim.
Safety note: If you’re mounting sensors on aluminum or vinyl window frames in direct sunlight, the adhesive can soften in extreme heat. Consider screw mounting or adding a thin shim behind the sensor to improve airflow.
Best Placement Strategies for Maximum Home Protection
Not every door and window needs a sensor, focus on likely entry points and high-value areas first.
Priority Placement
- All ground-floor doors and windows: Front, back, side, and garage entry doors are top priorities. Ground-floor windows are the most common intrusion points.
- Basement windows and walk-out doors: Even small casement windows should get sensors if they’re accessible from outside.
- Master bedroom windows: Upstairs bedrooms are often targeted for valuables and offer quick escape routes.
- Attached garage doors: Both the overhead garage door (if it has a walk-through entry point) and the interior door connecting the garage to the house.
Expert-tested reviews show that entry sensors are consistently effective across systems, including detailed coverage of top security systems that rate sensor reliability and response time.
Placement Tips for Reliable Performance
- Keep the sensor away from metal weather stripping or thick door sweeps. Metal can interfere with the magnetic field: a gap of 1/4 inch or more between the sensor and metal is ideal.
- Mount sensors on the hinge side of the door when possible. This minimizes stress on the adhesive and reduces the chance of the door’s edge catching the sensor.
- For double-hung windows, mount on the upper sash if you want the window to stay operable while the system is armed in “Home” mode. The lower sash remains unmonitored, but you can open it for ventilation.
- Avoid direct sunlight or heat vents. Prolonged exposure to temps above 120°F can shorten battery life and weaken adhesive.
If you have more than eight to ten entry points, consider adding motion detectors as a secondary layer. They’ll catch movement if someone bypasses a sensor or enters through an unmonitored window.
Troubleshooting Common Entry Sensor Issues
Most sensor problems trace back to alignment, battery, or interference. Here’s how to diagnose and fix the usual suspects.
Sensor Not Reporting Open/Close Events
- Check alignment. The magnet and sensor must be within 3/4 inch and aligned along the arrow printed on the sensor body. If the door has settled or the adhesive has shifted, reposition the magnet.
- Replace the battery. Even if the app doesn’t show a low-battery warning, a weak CR-2032 can cause intermittent connectivity. Pop off the sensor cover and swap in a fresh battery.
- Re-pair the sensor. In the SimpliSafe app, go to “My System,” select the problem sensor, and choose “Test Device.” If it fails, delete the sensor and re-add it as a new device.
False Alarms or Phantom Triggers
- Tighten loose doors or windows. A door that rattles in the wind can break and remake the magnetic circuit repeatedly. Add weather stripping or adjust the strike plate to reduce play.
- Check for nearby electronics. Large appliances, Wi-Fi routers, or baby monitors placed within a few feet of the sensor can occasionally cause RF interference. Move the device or sensor slightly.
- Inspect the adhesive. If the sensor has peeled partially away from the surface, it may vibrate or shift enough to trigger. Remove, clean the surface again, and re-mount with fresh adhesive or screws.
The SimpliSafe system’s wireless reliability is frequently highlighted in comprehensive reviews, such as this SimpliSafe home security system review that details entry sensor performance for doors and windows.
Sensor Shows Offline or Low Signal
- Move the base station closer. Thick exterior walls, metal framing, or brick veneer can block RF signals. Try relocating the base station to a more central spot, ideally on the same floor as the sensor.
- Remove signal blockers. Large metal objects (safes, filing cabinets, appliances) between the sensor and base can attenuate the 433 MHz signal.
- Check for low battery. A dying battery reduces transmit power, shrinking effective range.
If a sensor remains offline after troubleshooting, contact SimpliSafe support, hardware failures are rare but covered under the three-year limited warranty.
SimpliSafe Entry Sensor vs. Competitors: How It Stacks Up
SimpliSafe’s sensors compete directly with DIY systems from Ring, Wyze, and Abode. Here’s how they compare on the factors that matter most to DIYers.
SimpliSafe Entry Sensor
- Battery life: 3–5 years (CR-2032)
- Range: Up to 400 feet line-of-sight
- Mounting: Adhesive or screws
- Wireless: 433 MHz RF (non-Wi-Fi)
- Pricing: Typically $14.99 per sensor: often bundled in system packages
- Monitoring: Optional professional monitoring: no contract required
Ring Alarm Contact Sensor
- Battery life: 3 years (CR-2032)
- Range: 250 feet (Z-Wave)
- Mounting: Adhesive only
- Wireless: Z-Wave (mesh network)
- Pricing: Around $20 per sensor
- Monitoring: Optional Ring Protect Pro subscription for professional monitoring
Wyze Sense Contact Sensor
- Battery life: 12–18 months (CR-1632)
- Range: 150 feet (proprietary 2.4 GHz)
- Mounting: Adhesive only
- Wireless: 2.4 GHz proprietary protocol
- Pricing: $6–8 per sensor (budget leader)
- Monitoring: Self-monitoring only (no professional option)
Key Takeaways
SimpleSafe sensors hit the sweet spot for battery longevity and range, especially in larger homes where 400-foot coverage can span multiple floors without a range extender. The 433 MHz RF protocol is more interference-resistant than Wi-Fi or 2.4 GHz systems, which matters if you have a crowded wireless environment.
Reviews consistently rate SimpliSafe as reliable and easy to use, with specific praise for entry sensors’ long battery life and straightforward installation.
Wyze undercuts on price, but shorter battery life and no professional monitoring make it better suited for renters or light-duty use. Ring offers tight integration with Alexa and other Ring devices, but Z-Wave sensors can be finicky if your mesh network has dead spots.
For homeowners planning long-term security with optional professional monitoring, SimpliSafe’s entry sensors offer the best balance of reliability, range, and cost.
Conclusion
SimpliSafe entry sensors deliver dependable, DIY-friendly security without the complexity of hardwired systems or the battery churn of budget alternatives. Install them correctly, place them strategically, and they’ll quietly guard your home for years with minimal fuss. Keep a few spare CR-2032 batteries on hand, check alignment after seasonal door adjustments, and you’re set.