Nothing kills a cleaning session faster than a cordless vacuum that won’t hold a charge. If a Shark vacuum that used to run for 40 minutes now dies after five, or won’t power on at all, the battery is likely the culprit. The good news? Swapping it out is straightforward, no soldering, no rewiring, just a screwdriver and about 10 minutes. This guide walks through identifying when a battery needs replacement, sourcing the correct part, and installing it safely so the vacuum runs like new.
Table of Contents
ToggleKey Takeaways
- A Shark vacuum battery replacement is a straightforward 10-minute DIY task requiring only a screwdriver—no soldering or rewiring needed.
- Shark cordless vacuums typically last 300–500 charge cycles (2–4 years); watch for rapid discharge, no power, extended charge times, overheating, or error lights as replacement signals.
- Match voltage (18V, 25.2V, or 43.2V), amp-hour capacity, and connector type exactly when sourcing a replacement battery to ensure proper fit and compatibility.
- Extend your replacement battery’s lifespan to 3–4 years by avoiding full discharge, not leaving it on the charger indefinitely, using the original charger, and storing it at 40–60% charge in cool, dry conditions.
- If your Shark vacuum won’t power on after battery replacement and installation, the issue may be the charger, internal fuse, or motor controller rather than the battery itself.
How to Know When Your Shark Vacuum Battery Needs Replacing
Shark cordless vacuums typically use lithium-ion battery packs rated for 300 to 500 charge cycles, depending on the model. That translates to roughly two to four years of regular use before performance degrades noticeably.
Watch for these signs:
- Rapid discharge: The vacuum runs for less than half its original runtime, even after a full charge.
- No power at all: Pressing the trigger does nothing, and indicator lights don’t respond.
- Extended charge times: A battery that used to charge in three hours now takes six or more, or never reaches full capacity.
- Overheating: The battery pack feels unusually hot during charging or use, this is a safety concern and means immediate replacement.
- Blinking error lights: Many Shark models flash red or amber when the battery management system detects a fault.
Before assuming the battery is dead, rule out simpler issues. Check that the charging dock is plugged in and the outlet works. Inspect the charger contacts and battery terminals for dust or corrosion, clean them with a dry cloth or cotton swab dipped in rubbing alcohol. If the vacuum still won’t run or hold a charge, the battery is the next logical target.
Lithium-ion cells degrade over time even when not in use, so a vacuum that’s been sitting idle for a year may need a fresh battery regardless of cycle count.
Finding the Right Replacement Battery for Your Shark Vacuum Model
Shark uses model-specific battery packs, and buying the wrong one means it won’t physically fit or communicate with the vacuum’s controller. Start by identifying the exact model number, which is printed on a label on the main body or handle, usually a code like ION F80, Rocket Pet Pro, or Vertex Cordless.
Three sourcing options:
-
OEM (Original Equipment Manufacturer) batteries: Available directly from SharkClean.com or authorized retailers. These match factory specs exactly and typically carry a one-year warranty. Expect to pay $50 to $100 depending on capacity (standard vs. extended runtime models).
-
Third-party batteries: Brands like Powerextra, FLAGPOWER, and XBAT offer compatible packs at $30 to $60. Verify the listing shows the exact Shark model number and matches voltage and amp-hour (Ah) ratings. Read recent reviews, some cheaper packs overstate capacity or fail within months.
-
Refurbished or rebuilt batteries: These are hit-or-miss. Reputable sellers replace individual cells and test the pack, but many just repackage worn batteries. Only consider if the seller offers a warranty and clear return policy.
Key specs to match:
- Voltage: Shark cordless vacuums use 18V, 25.2V, or 43.2V packs. Using the wrong voltage can damage the motor or controller.
- Amp-hours (Ah): This determines runtime. A 2.0Ah battery runs about half as long as a 4.0Ah pack. Upgrading to higher capacity is fine as long as voltage matches.
- Connector type: The physical plug must match. Some models use a slide-in dock, others have a twist-lock or tab system.
Many of the best-performing Shark models share battery platforms across product lines, so cross-compatibility is common within the same voltage family. Check the battery’s part number (printed on the pack itself) against Shark’s compatibility charts to confirm fit.
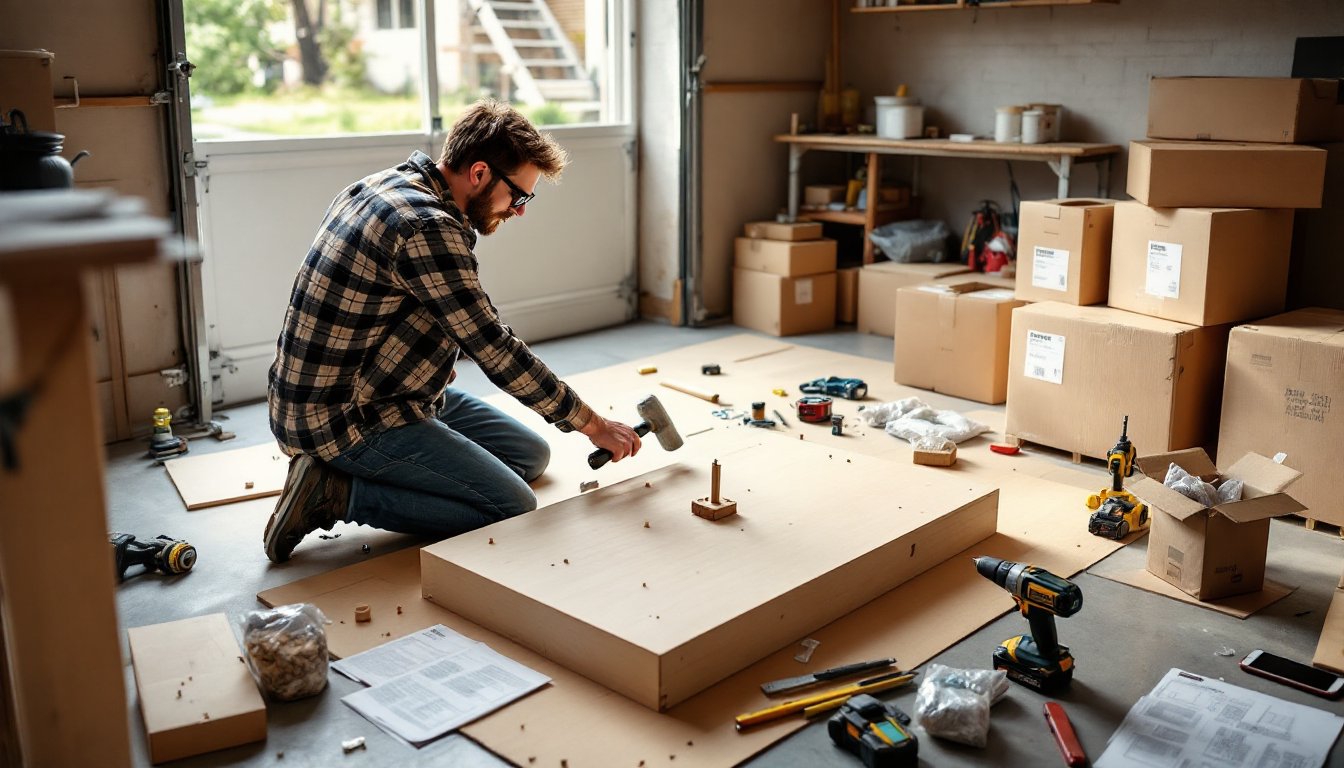
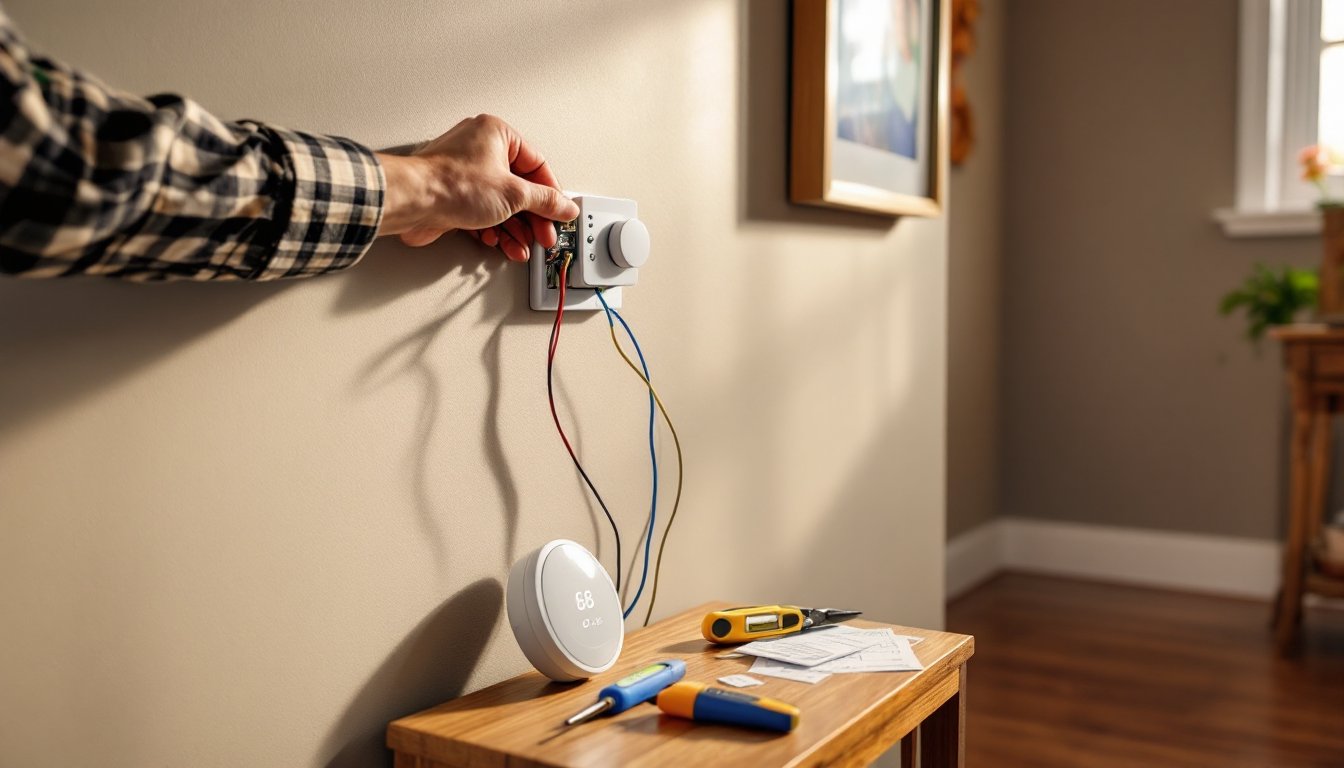
Step-by-Step: How to Replace Your Shark Vacuum Battery
Replacing a Shark vacuum battery doesn’t require special tools or technical skills, but taking a methodical approach prevents mistakes and keeps the warranty intact (if still active).
Before starting:
- Power off the vacuum and remove it from the charging dock.
- Work on a clean, flat surface, a kitchen counter or garage workbench is ideal.
- Wear safety glasses in case of accidental contact with battery terminals or dust release.
Removing the Old Battery Safely
Most Shark cordless models use one of two removal methods: a slide-release latch or screws securing a battery compartment.
For latch-release models (ION series, Rocket Pro, and most stick vacuums):
- Locate the battery release button or lever, usually on the lower handle or main body near where the battery sits.
- Press and hold the release while sliding the battery pack straight out. Some models require a slight lift-and-pull motion, don’t force it.
- If the battery is stuck, check for a secondary locking tab or debris in the track. A flathead screwdriver can gently pry a jammed latch, but avoid applying pressure to the battery casing itself.
For screw-secured models (older Freestyle, Navigator, and some handheld units):
- Use a Phillips-head screwdriver to remove the screws on the battery compartment cover (typically two to four screws). Keep these in a small container, they’re easy to lose.
- Lift the cover off and disconnect the battery plug from the internal port. Note the orientation of the connector before pulling, it only fits one way, but forcing it can bend pins.
- Slide or lift the old battery out of its housing.
Safe disposal: Lithium-ion batteries are classified as hazardous waste and cannot go in household trash. Most hardware stores, electronics retailers, and municipal recycling centers accept used batteries. Some Shark retailers offer mail-in recycling programs. Never throw a battery in the garbage or attempt to disassemble it.
Installing and Testing Your New Battery
Before inserting the new battery, inspect the vacuum’s battery compartment. Wipe out any dust or debris with a dry cloth, dirt on the contacts can cause intermittent power loss.
Installation steps:
- Align the new battery with the track or connector pins. For plug-in models, push the connector firmly until it clicks, partial connections cause charging errors.
- Slide or press the battery into place until it locks. A properly seated battery sits flush with the housing and doesn’t wobble.
- For screw-secured models, replace the compartment cover and tighten screws evenly. Don’t overtighten, plastic housings can crack.
Initial charge and testing:
New lithium-ion batteries ship at partial charge (usually 30-50%) to preserve cell health during storage. Before first use:
- Place the vacuum on its charging dock. The indicator light should turn on within a few seconds. If it doesn’t, reseat the battery and check the dock connection.
- Charge for the full time recommended in the manual, typically 3 to 5 hours for a complete cycle. Don’t interrupt the first charge.
- After charging, run the vacuum on its highest power setting until the battery depletes. This calibrates the battery management system and gives an accurate baseline for runtime.
- Recharge fully before regular use.
If the vacuum still won’t power on or the indicator light blinks an error code, the issue may be the charger, internal fuse, or motor controller rather than the battery. Consult Shark’s support resources or consider professional service.
For additional DIY project guidance on electronics and appliance repair, community forums and maker sites often have troubleshooting threads for specific vacuum models.
Tips to Extend Your Shark Vacuum Battery Life
With proper care, a replacement battery can deliver peak performance for three to four years. Lithium-ion chemistry is sensitive to heat, deep discharge, and poor storage practices, all avoidable.
Charging best practices:
- Avoid full discharge: Running the battery until the vacuum shuts off strains the cells. Recharge when runtime drops to 20-30% (usually indicated by a change in suction or a flashing light).
- Don’t leave it on the charger indefinitely: While Shark chargers have overcharge protection, keeping the battery at 100% for weeks generates heat and accelerates degradation. Charge fully, then remove from the dock if not using daily.
- Use the original charger: Third-party chargers may not regulate voltage correctly, leading to imbalanced cells or thermal stress.
Storage tips:
- Store the battery at 40-60% charge if the vacuum won’t be used for more than a month. Fully charged or fully depleted storage reduces cell longevity.
- Keep the battery in a cool, dry location, ideally 50-70°F. Avoid garages that reach 90°F+ in summer or damp basements where moisture can corrode contacts.
- If storing long-term, top off the charge every three months to prevent voltage from dropping too low.
Operational habits:
- Match power mode to the task: Using MAX mode on hardwood floors wastes battery. Reserve high power for deep carpet cleaning.
- Clear clogs promptly: Blockages in the hose or brush roll force the motor to work harder, draining the battery faster and generating excess heat.
- Clean filters regularly: Clogged filters reduce airflow, which makes the motor strain. Rinse foam and HEPA filters every month (or per the manual) and let them dry completely before reinstalling.
Temperature extremes are the enemy. Don’t charge or use the vacuum in spaces below 40°F or above 90°F, cold slows the chemical reactions inside the cells, while heat accelerates breakdown. If the battery feels warm after use, let it cool before charging.
One often-overlooked factor: firmware updates. Some newer Shark models have app connectivity or LED diagnostics that can be updated via USB or the SharkClean app. These updates sometimes optimize battery management algorithms. Check the support page for the specific model to see if updates are available.
Finally, if the vacuum sees heavy use, daily cleaning of large homes or commercial spaces, consider buying a second battery and rotating them. This spreads wear across two packs and ensures one is always charged and ready. Some users find that approach cheaper in the long run than replacing a single overworked battery every 18 months.
Conclusion
Replacing a Shark vacuum battery is one of the simplest appliance repairs a homeowner can tackle. With the right part and a few minutes of work, a dead cordless vacuum runs like new, saving the cost and waste of buying a replacement unit. Match the battery specs carefully, follow safe handling practices, and adopt smart charging habits to keep the new pack performing well for years.