A small kitchen doesn’t mean small results. Some of the most dramatic remodels happen in compact spaces where every inch counts and smart design decisions stack up fast. Whether it’s a galley layout in a 1950s ranch or an 80-square-foot apartment kitchen, the right changes can transform a cramped, inefficient space into one that feels open, functional, and genuinely enjoyable to cook in. This guide walks through real before-and-after transformations and the specific strategies that made them work, no vague “open it up” advice, just actionable improvements homeowners and DIYers can apply to their own projects.
Table of Contents
ToggleKey Takeaways
- A small kitchen remodel before and after demonstrates that compact spaces deliver disproportionate results, with minor remodels recouping 72% of costs at resale while requiring less material and budget.
- Allocate 40–50% of your remodel budget to cabinets and storage, then 20–25% to countertops, 10–15% each to appliances and flooring/backsplash/paint, and 5–10% to lighting.
- Smart storage upgrades like pull-out drawers, corner Lazy Susans, and vertical tray dividers can increase usable storage by 40% without adding cabinets, while toe-kick drawers and custom wall cabinets maximize vertical and hidden space.
- Downsize your refrigerator and range to reclaim square footage—switching from side-by-side to bottom-freezer models frees 18 inches of wall space, and replacing a 30-inch range with a 24-inch model creates valuable prep zones.
- Light colors, continuous flooring, under-cabinet LED lighting, and reflective surfaces visually expand small kitchens at low cost, while glass-front cabinets and full-height backsplash draw the eye and create depth.
- Ruthless decluttering paired with dedicated storage solutions (magnetic knife strips, drawer dividers, closed cabinets) ensures every tool has a home and maximizes perceived space in tight kitchens.
Why Small Kitchen Remodels Deliver Big Impact
Small kitchens benefit disproportionately from renovations because every change is visible and functional. Replace 12 linear feet of lower cabinets, and you’ve addressed most of the storage in the room. Swap out a bulky 36-inch range for a 30-inch model, and you’ve freed up counter space without sacrificing cooking capacity.
The cost-to-impact ratio is also favorable. According to Remodeling Magazine’s 2025 Cost vs. Value Report, minor kitchen remodels (under $30,000) recoup an average of 72% of their cost at resale in most U.S. markets, higher than many larger projects. Compact spaces require less material: fewer cabinets, less countertop square footage, smaller flooring runs. That means budgets stretch further, and DIY-friendly tasks like painting, hardware swaps, and backsplash installation have outsized visual effects.
Small kitchen renovations also force discipline. There’s no room to hide poor planning with sheer square footage, so homeowners focus on what actually works, task lighting over the sink, pull-out shelving in base cabinets, wall-mounted storage. These constraints produce better design.
Planning Your Small Kitchen Transformation
Setting a Realistic Budget and Timeline
Budget planning starts with distinguishing cosmetic updates from structural changes. Painting cabinets, replacing hardware, and installing peel-and-stick backsplash can cost $500 to $2,000 and take a weekend. Refacing or replacing cabinets, upgrading countertops, and adding new lighting runs $8,000 to $20,000 and takes two to four weeks. Full gut jobs with appliance moves, plumbing relocation, or load-bearing wall removal often exceed $25,000 and require permits and licensed contractors.
For small kitchens, allocate roughly:
- 40–50% to cabinets and storage solutions
- 20–25% to countertops
- 10–15% to appliances (if replacing)
- 10–15% to flooring, backsplash, and paint
- 5–10% to lighting and fixtures
Timelines depend on material lead times. Custom cabinets take 8 to 12 weeks: stock cabinets ship in days. Countertop fabrication (quartz, granite) requires templating after base cabinets are installed, adding one to two weeks. Budget an extra 15% for contingencies, old plaster, outdated wiring, or hidden water damage.
Measuring and Mapping Your Space
Accurate measurements prevent costly errors. Use a laser measure or 25-foot tape to record:
- Wall lengths (note window and door locations)
- Ceiling height and any soffits or beams
- Existing appliance dimensions and electrical/plumbing rough-in locations
- Distance from countertop to upper cabinet bottoms (18 inches is standard)
Sketch a to-scale floor plan on graph paper (¼ inch = 1 foot works well) or use free tools like RoomSketcher or IKEA’s kitchen planner. Mark the work triangle, the path between sink, range, and refrigerator. In small kitchens, a total triangle perimeter of 12 to 18 feet keeps movement efficient without wasted steps.
Check for code requirements before finalizing layouts. Most jurisdictions require:
- Minimum 15 inches of counter space on one side of the cooktop
- At least one 20-amp small appliance circuit
- GFCI outlets within 6 feet of the sink
If moving gas lines or adding 240V circuits for electric ranges, hire licensed professionals. Permit costs vary but typically run $150 to $500 depending on scope.
Before and After: Smart Storage Solutions That Changed Everything
One Brooklyn galley kitchen went from six base cabinets with fixed shelves to the same footprint with pull-out drawers, a corner Lazy Susan, and vertical tray dividers. The homeowner gained 40% more usable storage without adding a single cabinet. Cost: $1,200 for hardware and drawer boxes, installed over one weekend.
Another transformation involved removing a partial upper cabinet wall and replacing it with open shelving and a pot rack. This freed up 8 square feet of visual space, reduced material costs by $900, and put everyday dishes within arm’s reach. The trade-off? Less concealed storage, so the homeowner edited down to 24 pieces of dishware and glassware. Open shelving works best when paired with drawer organizers below to handle overflow.
A third case study tackled wasted vertical space. The before: 30 inches of empty wall above the refrigerator. The after: a custom cabinet box (24 inches wide by 18 inches deep by 30 inches tall) built from ¾-inch plywood and mounted to studs with 2.5-inch cabinet screws. Total material cost: $85. The cabinet now holds small appliances, freeing up 6 linear feet of counter space.
When planning storage upgrades, measure interior cabinet dimensions, not just the door width. A 30-inch-wide base cabinet with a face frame loses 2 to 3 inches of usable width inside. Frameless (European-style) cabinets maximize interior space, though they cost 10–15% more. Soft-close hinges and drawer slides add $3 to $8 per unit but reduce wear and noise, worth it in tight quarters where every cabinet slam echoes.
Consider toe-kick drawers under base cabinets for flat items like baking sheets and cutting boards. These 4-inch-tall drawers slide out from the recess where the cabinet meets the floor. Installation requires cutting into the cabinet base and adding drawer slides, but many sources of small space inspiration highlight these hidden storage wins.
Layout Improvements That Make Small Kitchens Work Harder
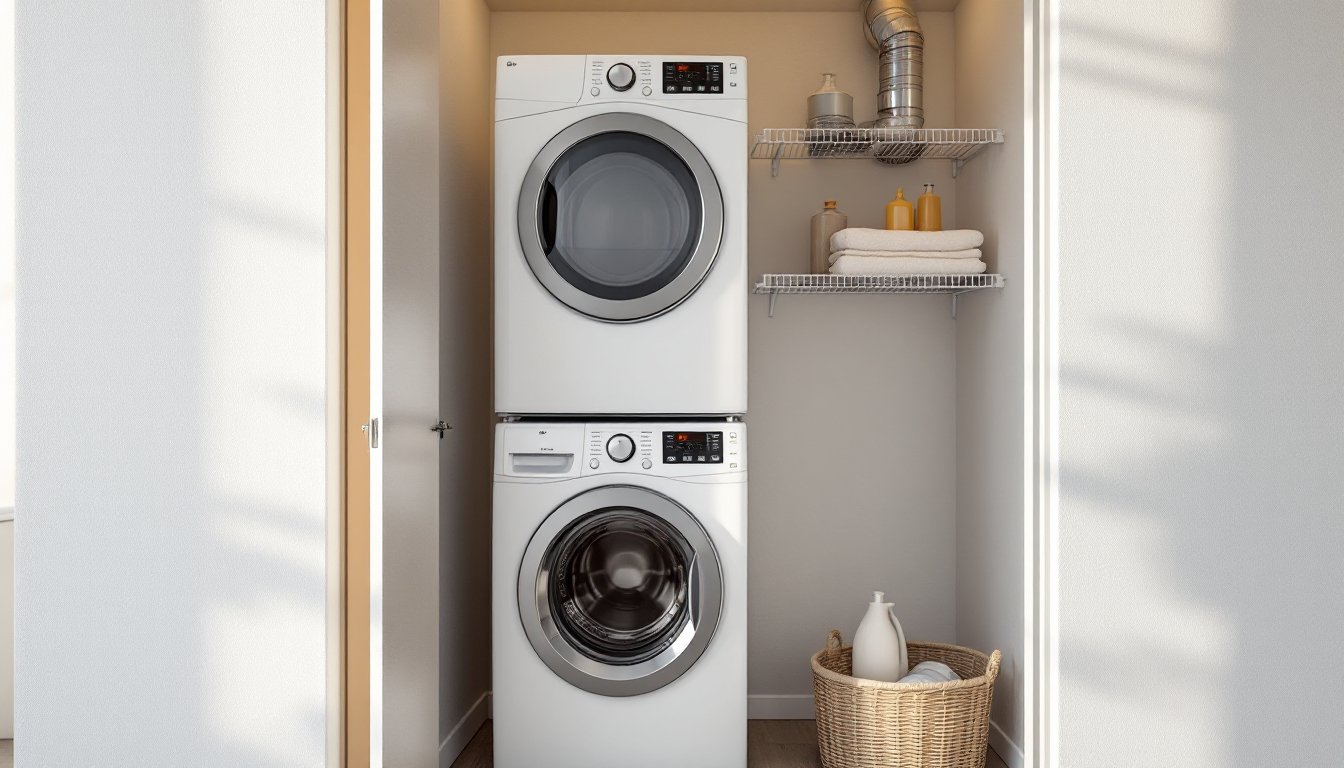
Switching from a side-by-side refrigerator (36 inches wide) to a bottom-freezer or counter-depth model (30 to 33 inches wide) unlocked 18 inches of wall space in one Seattle remodel. That space became a floor-to-ceiling pantry cabinet, which added 15 cubic feet of storage and eliminated countertop clutter. Counter-depth fridges also reduce protrusion by 6 to 8 inches, improving traffic flow in galley and L-shaped layouts.
Another common fix: replacing a 30-inch range with a 24-inch apartment-size model. This works if the household cooks for one or two people and rarely uses all four burners. The freed space became a butcher block prep zone with an outlet strip underneath, a major workflow improvement. For serious cooks, a 30-inch induction range with a vent hood rated at 300 CFM or higher is a better call: induction heats faster and generates less ambient heat, crucial in small spaces.
Relocating the sink can be transformative but comes with plumbing and permitting hurdles. One L-shaped kitchen moved the sink 4 feet to center it under a window, which required rerouting drain lines (2-inch ABS or PVC) and venting per IRC Section P3105 (each fixture needs a trap and vent). A licensed plumber quoted $1,800 for the move, but the improved sightlines and natural light made it the project’s MVP change.
Peninsulas beat islands in small kitchens. A 24-inch-deep peninsula with a 15-inch overhang provides seating for two and doubles as a room divider without blocking through-traffic. Islands require at least 42 inches of clearance on all sides per most building codes, a footprint few small kitchens can spare. If an island is non-negotiable, go for a movable butcher block cart on locking casters. These run $200 to $600 and add storage, prep space, and flexibility. Many kitchen organization strategies recommend this approach for renters or budget-conscious remodelers.
Design Tricks That Visually Expand Your Kitchen
Light colors reflect more light, making spaces feel larger. One Michigan kitchen painted oak cabinets in Benjamin Moore Simply White (OC-117) using a bonding primer (like INSL-X STIX) and two coats of satin finish cabinet paint. The total transformation cost $275 in materials and took two full days (sanding, priming, two coats, cure time). Paired with a white subway tile backsplash, the visual square footage jumped by 20%, or at least it felt that way.
Continuous flooring eliminates visual breaks. Swapping 12-inch ceramic tiles for luxury vinyl plank (LVP) in a 7-inch-wide oak-look pattern made one 90-square-foot kitchen feel more expansive. LVP costs $2 to $5 per square foot and installs as a floating floor, no mortar, no grout, DIY-friendly. Run planks lengthwise in galley kitchens to emphasize depth.
Under-cabinet lighting transforms both function and ambiance. LED strip lights or puck lights (hardwired or plug-in) eliminate shadows on countertops and add a layer of indirect lighting that makes ceilings feel higher. Install strips 2 to 3 inches from the front edge of upper cabinets to minimize glare. Budget $80 to $150 for a 10-foot run of quality LED strips with a dimmer.
Glass-front upper cabinets or open shelving create sightlines through the room. One Tampa condo replaced two solid cabinet doors with glass inserts ($45 per door at a local glass shop). The homeowner painted the cabinet interiors the same color as the walls, which visually extended the wall plane and made the kitchen feel less boxy. Keep glassware and dishware uniform in color to avoid a cluttered look.
Vertical backsplash to the ceiling draws the eye up. Instead of stopping tile at 18 inches above the counter, one DIYer carried 3×6-inch white subway tile all the way to the 8-foot ceiling. Material cost increased by $90 (an extra 20 square feet), but the vertical lines made the room feel taller. For step-by-step small kitchen remodel examples, many projects emphasize full-height tile or shiplap as a budget-friendly visual expander.
Reflective surfaces, polished quartz countertops, stainless appliances, glossy tile, bounce light and add depth. Matte finishes absorb light: reserve them for walls or cabinets if the goal is to maximize brightness. A mirrored backsplash behind the range (tempered glass with a reflective backing) is bold but effective in very tight spaces: check fire codes first, as some jurisdictions restrict combustible or non-ceramic materials near cooktops.
Finally, declutter ruthlessly. Every item on the counter competes for visual space. Store small appliances in cabinets or a pantry closet. Mount a magnetic knife strip on the wall. Use drawer dividers for utensils. The before-and-afters that impress most aren’t just about new finishes, they’re about editing down to essentials and giving every tool a home.