Disassembling a bed might sound like an intimidating task, but it’s easier than you think. Picture this: you’re moving to a new place, and your trusty bed is the last thing standing between you and a cozy night’s sleep in your new digs. Fear not! With a little guidance and a few tools, you’ll have that bed in pieces faster than you can say “where’s my mattress?”
Table of Contents
ToggleUnderstanding Bed Types
Disassembling a bed requires knowledge of its type. Each bed design influences how to take it apart.
Frame Beds
Frame beds consist of a headboard, footboard, and side rails. These components connect to create a sturdy structure. First, remove the mattress and box spring. Next, unscrew or unbolt the headboard and footboard from the side rails. After that, detach the side rails from the bed frame. Lastly, store the hardware in a designated bag to avoid loss.
Platform Beds
Platform beds feature a solid base that eliminates the need for a box spring. These beds typically have a low profile and a raised platform. Begin by taking off the mattress. Then, check for any screws or hardware securing the platform to the legs. Unscrew these fasteners carefully. Afterward, lift the platform off its supports. Organize all small parts for easier reassembly.
Sleigh Beds
Sleigh beds exhibit a distinctive curved shape on the headboard and footboard. Their elegant design requires careful handling during disassembly. Start by removing the mattress and box spring. Voids in the frame often hide screws, so inspect these areas closely. Unscrew the headboard and footboard from the side rails. Finally, take apart any slats supporting the mattress. Keep components together for a smooth reassembly process.
Tools Needed
Gathering the right tools simplifies the disassembly process. Below are lists of essential and optional tools to consider.
Essential Tools
- Screwdriver: A flathead or Phillips screwdriver is necessary for removing screws.
- Wrench: A wrench helps with loosening nuts and bolts found in various bed frames.
- Allen wrench: Many modern beds use hex screws requiring an Allen wrench.
- Pliers: Pliers assist in gripping and twisting stubborn screws or brackets.
- Hammer: A hammer may come in handy for tapping pieces apart.
Optional Tools
- Power drill: A power drill speeds up the unscrewing process when working with numerous screws.
- Utility knife: A utility knife can cut through any fabric or packaging, if needed.
- Ziplock bags: Ziplock bags keep small screws and parts organized during disassembly.
- Measuring tape: A measuring tape aids in ensuring each component fits when reassembling.
- Furniture dolly: A furniture dolly assists in transporting larger parts safely and efficiently.
Step-by-Step Guide
Disassembling a bed requires careful planning and execution. Following these steps ensures efficiency and organization throughout the process.
Preparing the Area
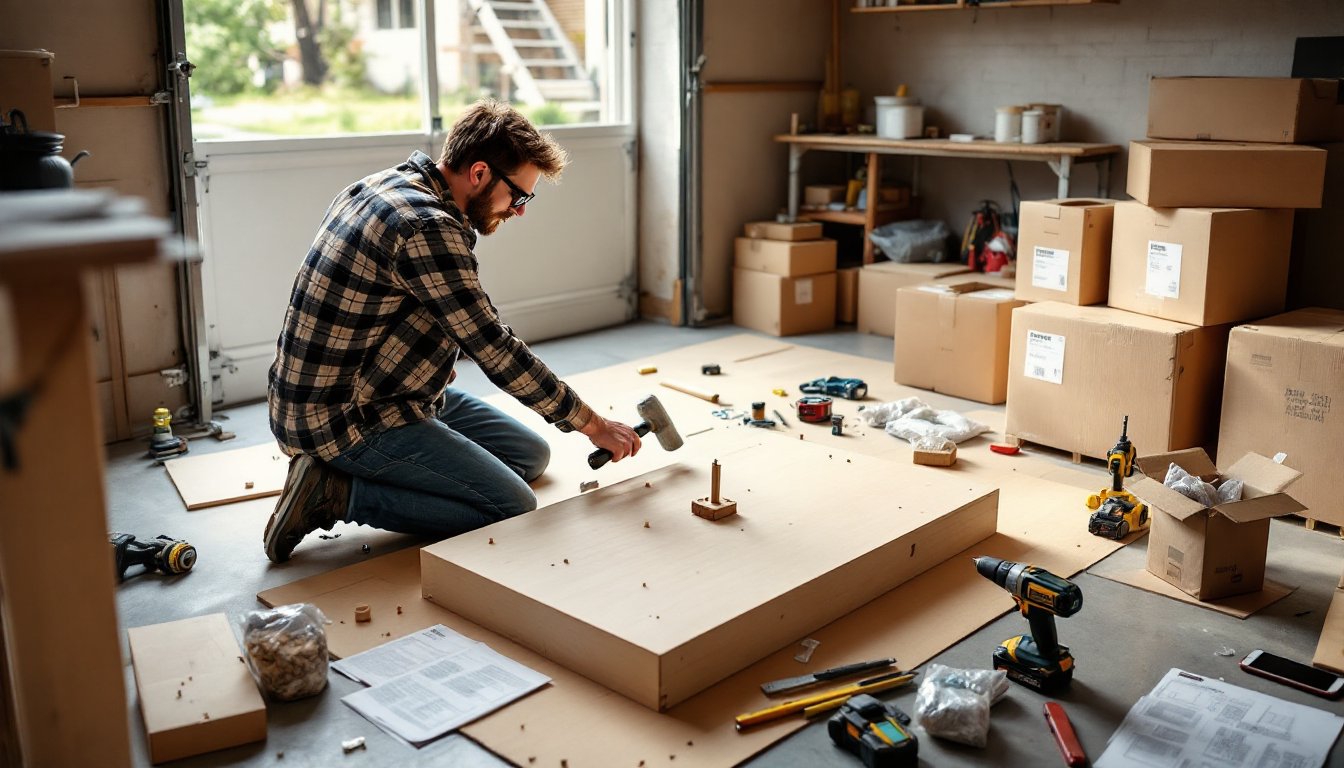
Begin by selecting a spacious area to work in. Clear away any obstacles and ensure proper lighting for visibility. Lay out a blanket or soft surface to protect components during disassembly. Gather all necessary tools within reach, including screwdrivers and wrenches. Keeping these items organized enhances workflow and minimizes frustration.
Removing Bedding and Accessories
Start by removing any bedding, including sheets, comforters, and pillows. Set aside these items in a neat pile or a laundry basket to prevent clutter. Next, detach any accessories such as decorative pillows, bedskirts, or canopies. Remove the mattress and box spring efficiently to lighten the load. Store these in a designated area to avoid damage while disassembling the frame.
Disassembling the Frame
Begin by unscrewing the side rails from the headboard and footboard. Different bed frames have various configurations, so inspect types of screws used. Use the appropriate screwdriver or wrench to loosen screws without damaging wood or metal. Once detached, remove the side rails completely. Maintain focus on storing hardware in labeled bags to facilitate reassembly later.
Handling the Headboard and Footboard
Carefully detach the headboard and footboard, ensuring no scratches occur during removal. Check for hidden screws or bolts that may require loosening first. Lift each component gently to avoid stress on joints. Once separated, store them upright against a wall to save space. This practical arrangement prevents potential damage while coordinating disassembly steps.
Tips for Safe Disassembly
Disassembling a bed safely involves steps to protect both the furniture and the surrounding environment. These guidelines ensure an efficient process with minimal risk.
Protecting Your Walls and Floors
Protect walls and floors by using blankets or furniture pads during disassembly. Placing these items under the bed and around edges helps prevent scratches or dents. Move slowly, lifting items instead of dragging them, especially when navigating tight spaces. Consider using felt pads under furniture legs to avoid floor damage. Lastly, securing any doorways with additional padding can safeguard both the bed and the structure of the home.
Safety Precautions
Ensure safety by wearing gloves to protect hands from sharp edges and rough surfaces. Remove any jewelry to prevent scratches or injuries while working. Use appropriate lifting techniques to avoid strains, bending at the knees and keeping the back straight when lifting heavy components. Always have a partner when handling large or bulky pieces. Finally, keep tools and small hardware out of reach of children and pets to prevent accidents.
Reassembly Considerations
Reassembling a bed requires attention to detail. Knowing how to approach this process ensures a seamless transition back to your spacious and comfortable setup.
Labeling Parts
Labeling parts during disassembly simplifies reassembly. Use numbered stickers or markers to tag each component such as side rails, headboards, and slats. Assigning labels helps identify the correct location for each piece in a timely manner. Keeping a parts list alongside your labeling system prevents confusion later on. Additionally, store bags of screws or bolts directly with their corresponding parts for quick access.
Instructions for Reassembly
Following clear instructions can expedite the reassembly process. Begin by laying out all components according to the labeled system. Start with the bed frame, attaching side rails to the headboard and footboard first. Secure any screws and bolts firmly to ensure stability. Next, reattach slats or platform pieces, ensuring everything aligns correctly. Double-check for any extra parts you may have overlooked. Lastly, place the mattress and box spring, arranging bedding as desired.
Disassembling a bed doesn’t have to be a stressful task. With the right approach and tools it’s possible to simplify the process and ensure a smooth transition to a new home. By understanding the specific type of bed and following organized steps readers can dismantle their beds efficiently.
Attention to detail during disassembly and reassembly is crucial for maintaining the bed’s integrity. Keeping components organized and using safety precautions will make the entire experience safer and more manageable. Following these guidelines will lead to a hassle-free setup in the new space.